SOLAR & DSO SKETCHING
In this section you'll learn the basics for sketching sunspots, comets, planetary nebulae, diffuse nebulae, galaxies, open clusters and globular clusters. Actually, the technique for the nebulous objects (comets, planetary nebulae, diffuse nebulae and galaxies) is the same, so those will be covered in the 'Nebulosities' area.
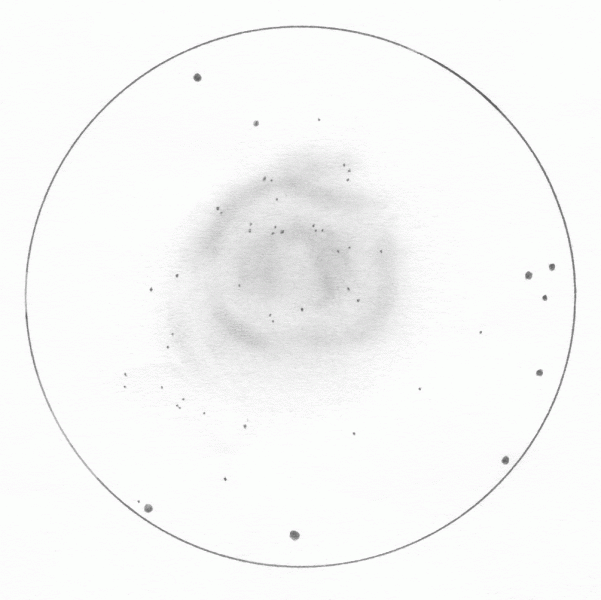
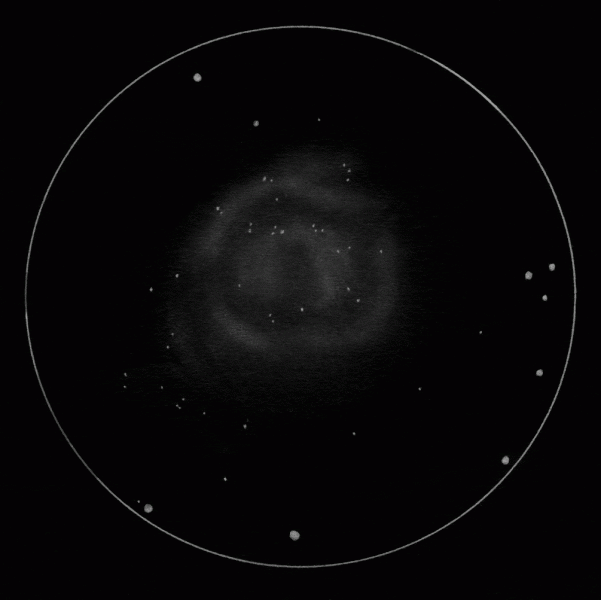
Converting your deep sky sketches to a negative image (white-on-black) seems to be the norm nowadays, but years ago I always posted the original sketch in my observing reports because, well, that's what I drew. Every time though, someone would "take the liberty" and convert it to a negative image, often with disastrous results―so I began to do it myself to make sure it was done properly. If you choose to convert your sketches, use a photo program or the controls in your scanner, if that's an available option.
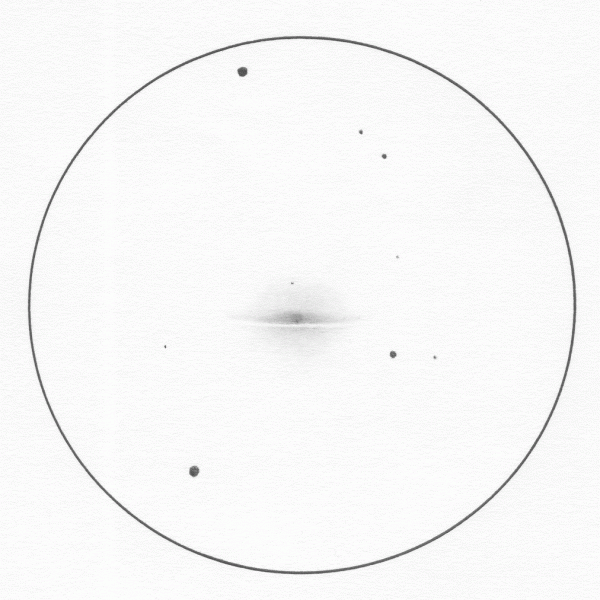
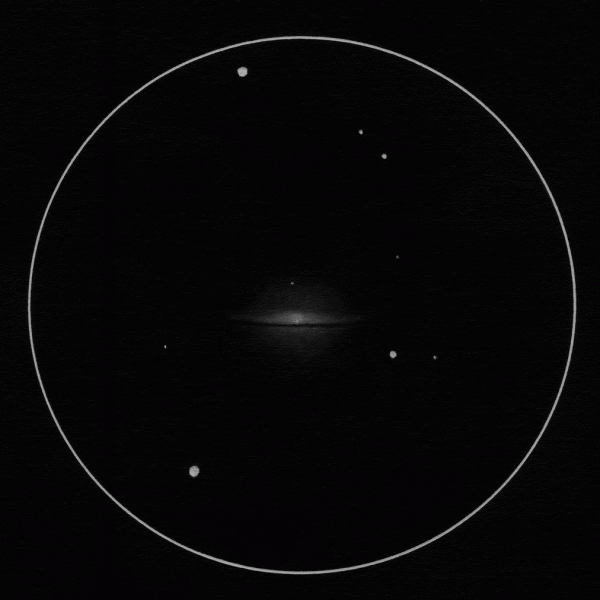
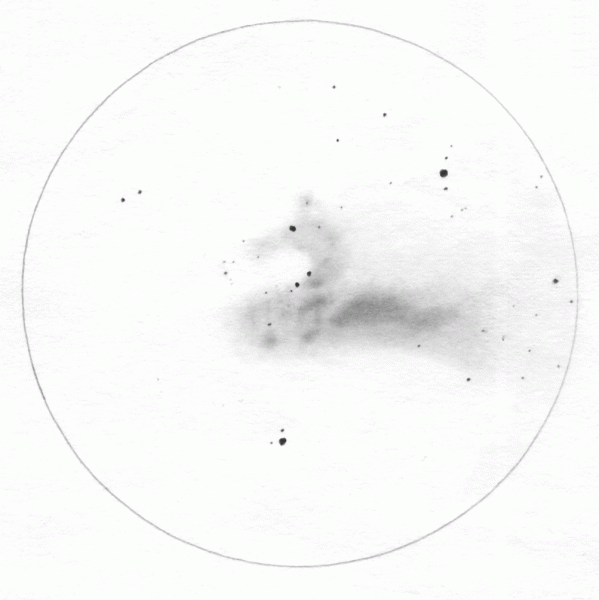
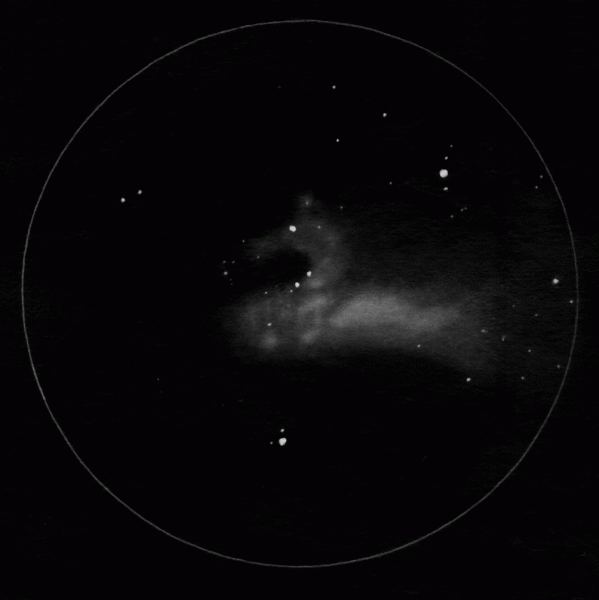
I've included both versions of a few sketches in this tutorial in order to give you an idea of what the eyepiece image needs to look like in order to produce a negative image that closely matches what you saw in the eyepiece.
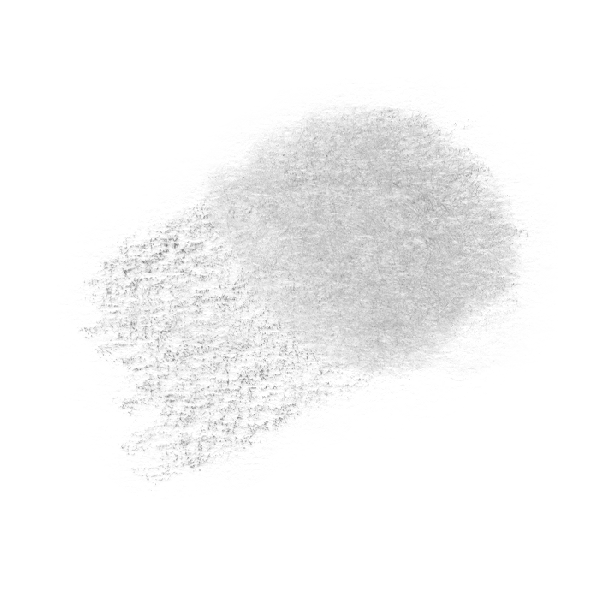
Be aware that the blending process will darken the appearance of graphite (see image below), so be careful not apply it too thickly. The paper's tooth (texture) is like an egg carton―full of hills and valleys. Normally the graphite rests on the hills and leaves the valleys white, but the blending process darkens the valleys, too.
Keep in mind that deep sky sketches are negative images―the brighter something is, the darker you need to draw it. Conversely, dark areas (like the Sombrero galaxy's dust lane, shown below)
will need to be lighter than the surrounding graphite nebulosity. The best way to create a dust lane is with a sharply cut edge of a hard eraser.
SUNSPOTS
(Important Note: When observing the Sun, always use an approved solar filter in accordance with the manufacturer's directions, and make sure it's in perfect condition before every use. )
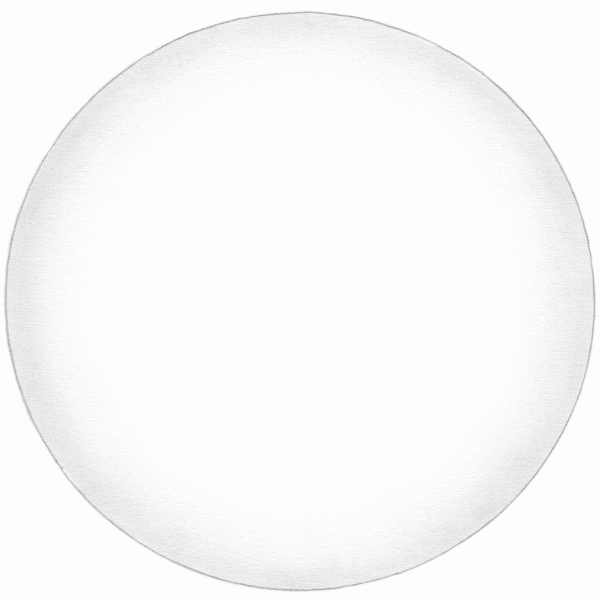
Shading the solar limb gives the Sun a nice spherical look, but it's optional. If you decide to include it in your solar sketch, draw your circle with ink so it won't get blended away, or use a printed template. Use the flat side of an H pencil and place a very light strip of graphite on the Sun's limb. With small circular movements, use a blending tool to work the graphite into the paper. To make the very edge of the limb more pronounced, run the blending tool parallel to the drawn or printed circle.
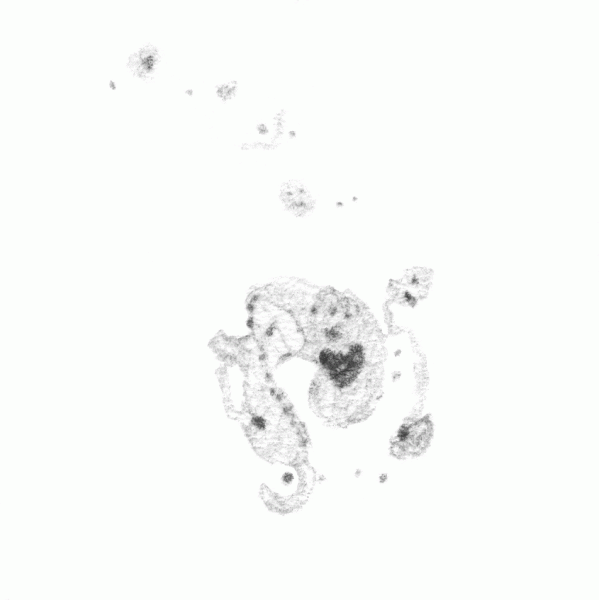
The darker area of a sunspot is called an 'umbra', and the shadowy-looking area that often surrounds it is called a 'penumbra'. Sketch umbrae with a 2B pencil, and sketch penumbrae―very sparingly and with a light touch―using an H pencil. Sometimes there are penumbral islands (called 'solar pores') on the outskirts of sunspots. To draw them, use an H-coated blending tool to 'dab' a spot of graphite on the paper where they're located―no need to rub.
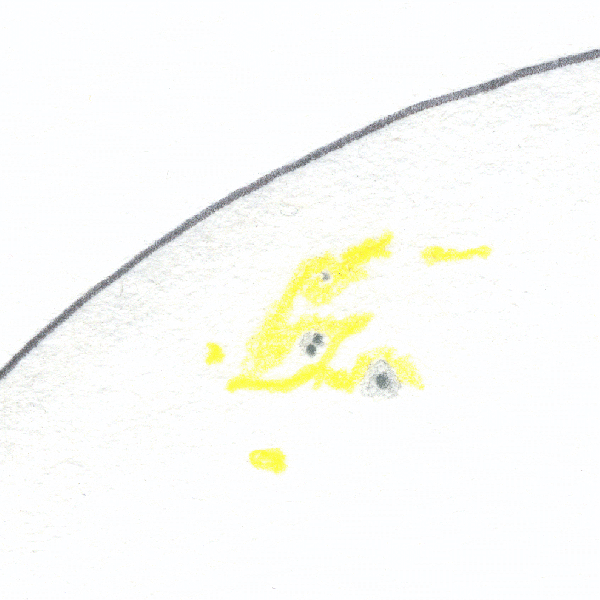
When viewing the Sun in white light, you can often see faculae on the Sun's limb, too. They look like bright ribbons lying on the surface of the Sun, and are best drawn with a yellow pencil.
NEBULOSITIES (Comets, Planetary Nebulae, Diffuse Nebulae and Galaxies)
To draw larger nebulosities, first draw the general shape of it with the flat side of an H pencil―use a very light touch. Then with a blending tool and small circular motions, work the graphite into the paper. This Nebulosity technique works well on comet tails and comae, large planetary nebulae like the Helix, and all larger diffuse nebulae and galaxies.
Some objects are best drawn with a blending tool coated with H graphite. Examples are a comet's nucleus, a small planetary nebula, a small diffuse nebulous patch, small galaxies, and small unresolved globular clusters. The coated blending tool can also be used to depict knots of brighter nebulosity within a larger nebula, as shown in the Swan Nebula below.
OPEN CLUSTERS
When drawing open clusters, begin with the brightest stars in the eyepiece. These 'anchor' stars are the foundation of every deep sky sketch, so try to place them as accurately as possible. Populating a starfield is a simple matter of triangulation. This means using the location of sketched stars to determine where other stars should be drawn. Begin with the bright anchor stars, and use triangulation to draw the next-dimmest set of stars in the field. Then triangulate from those next-dimmest stars, and so on till you've included the dimmest stars detected with averted vision. Very often you'll recognize geometric (or other) shapes, too―feel free to incorporate them into the triangulation method.
Not all open clusters are resolvable―some have a background glow of dim stars that can be quite lovely, as is the case with Caroline's Rose (NGC 7789) shown below. To achieve the background starglow, use the Nebulosity method after you've drawn the starfield. The method will smudge some of the stars, so be sure to re-draw them afterwards.
GLOBULAR CLUSTERS
There are a few ways to sketch globular clusters, and the technique depends on whether or not it's a resolvable cluster. Many of them have very dim stars which blend together to make a foggy looking backdrop with a few stars in the foreground. For this type of cluster, use the Nebulosity technique for the background glow, and then draw whatever stars you can resolve.
For resolvable globular clusters, stippling is the best method as far as I'm concerned (see Messier 92 below). Stippling consists of repeatedly tapping the tip of your pencil on the paper, and leaving small dots behind. It looks intimidating but it's really quite simple to do.
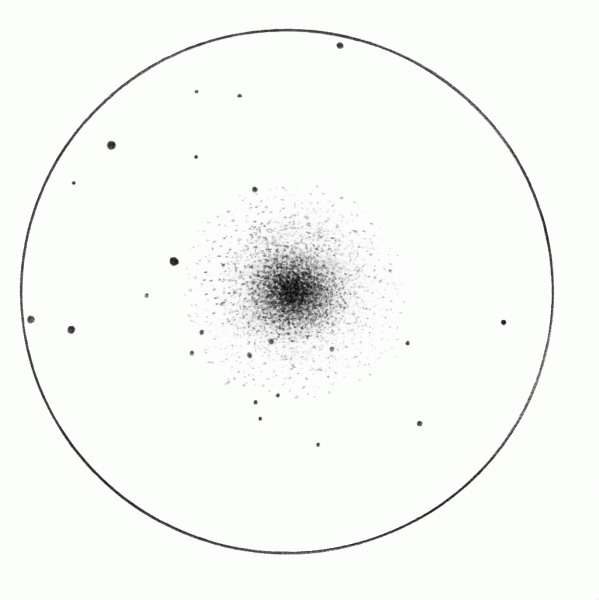
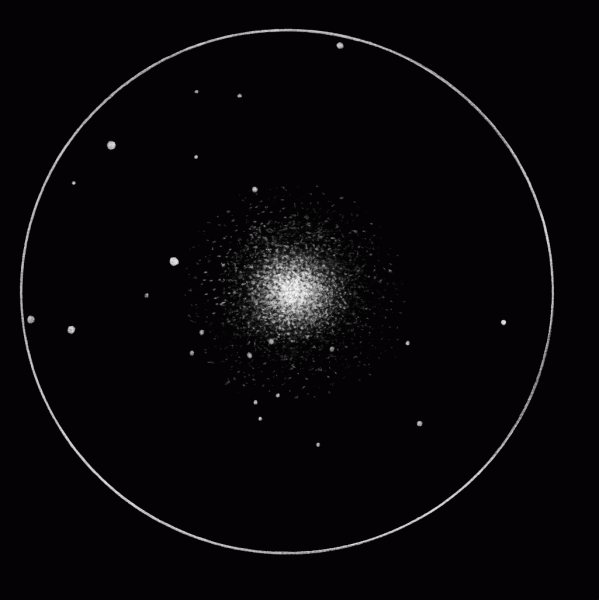
Hold the pencil at a 90° angle to the paper and tap straight down―don't let it 'slide' or you'll wind up with tiny lines instead of dots. Also, it's best to use really soft graphite pencils. The first reason for doing this is because the soft pencils will leave a nice dot of graphite on the paper. The second reason is that if you used harder pencils, you'd have to tap really hard in order to leave a dot of graphite on the paper, and tapping that hard tends to leave little pock-marks in the paper.
Always use a very sharp 9B pencil for the bright central core, and make sure you keep it nice and sharp because it will get rounded pretty quickly from the tapping. When soft graphite becomes rounded, it produces bloated stars.
As you move outwards from the central core, gradually switch to harder and harder pencils - 6B, 4B, and finally 2B for the outermost areas. Every time you switch to a harder pencil, make the stars thin out more and more, just like they do in the eyepiece. Mistakes can be easily corrected by working a kneadable eraser to a point, and gently 'dabbing' excess graphite from the paper. Most importantly, be very careful not to let anything brush against the sketch. The soft graphite smudges quite easily.
Well, I hope this general tutorial has been helpful. Take time to practice, and feel free to use online images as models till you get behind the eyepiece. Table-top practice is a great way to get used to the blending tools and the techniques used to create the different aspects of observational sketching. Have fun, and clear skies!
For information on art materials, see the section on lunar sketching.
- Log in to post comments
